
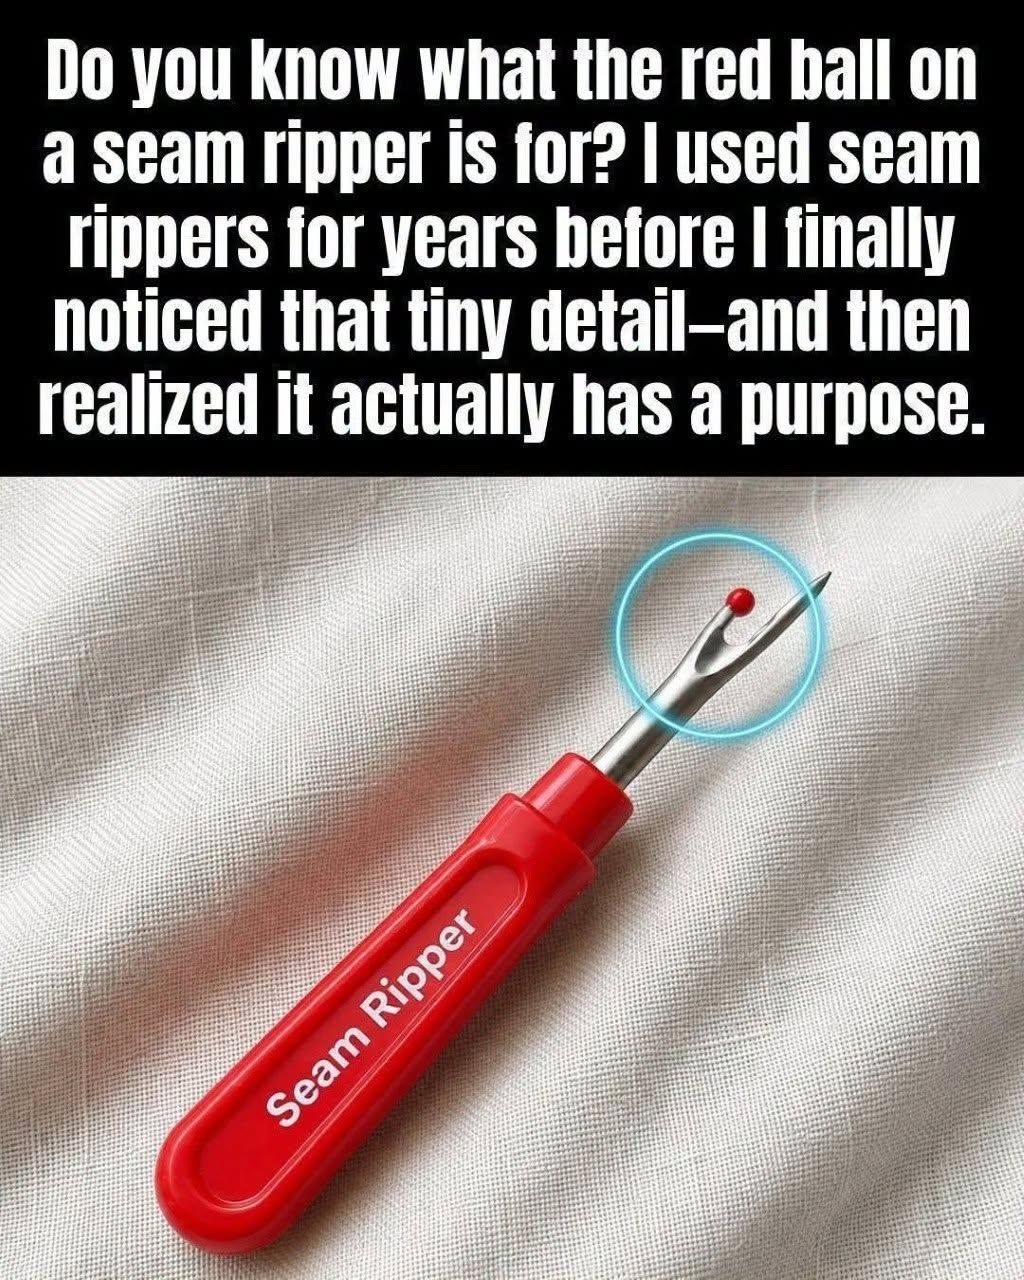
If possible, work from the underside of the seam because the thread structure may be easier to see.
You can also use your fingers to gently separate the fabric layers, creating a clearer path for the tool.
Seam Ripper vs. Small Scissors
Both seam rippers and small sewing scissors can remove stitches, but they serve different purposes.
Small scissors can be useful when thread is exposed and easy to reach.
A seam ripper is often more convenient when the thread is tightly secured within a seam.
The pointed tip allows you to reach individual stitches without opening a large section.
Many sewists keep both tools nearby.
What to Do After Removing a Seam
Once the unwanted stitches are gone, do not immediately resew.
Take a moment to inspect the fabric.
Remove all loose threads and gently smooth the material.
If necessary, press the fabric.
Then reconsider the original problem.
Ask yourself:
- Was the seam positioned incorrectly?
- Was the seam allowance wrong?
- Was the fabric placed incorrectly?
- Was the thread tension unsuitable?
- Did the machine settings cause the problem?
Understanding why the mistake happened can help you avoid repeating it.
Caring for Your Seam Ripper
Like other sewing tools, a seam ripper should be kept clean and stored safely.
Avoid leaving it loose in a sewing bag where the sharp edge could damage other tools or your hands.
Some seam rippers come with protective caps. Use the cap whenever possible.
Keep the tool dry and inspect it occasionally.
If the cutting edge becomes damaged or difficult to use, replacing the seam ripper may be better than trying to force it through stitches.
Choosing the Right Seam Ripper
If you sew frequently, investing in a comfortable seam ripper can make a noticeable difference.
Consider:
- Handle size
- Grip comfort
- Blade sharpness
- Overall construction
- Protective cap
- Tool size
A smaller seam ripper may be ideal for detailed work, while a larger ergonomic handle may be more comfortable for long sewing sessions.
There is no single perfect design for everyone.
Why Seam Ripping Is an Important Sewing Skill
Some beginners feel embarrassed when they have to undo their work.
There is no reason to feel that way.
Professional sewing involves correction, adjustment, and refinement. Even carefully planned projects sometimes need to be changed.
A seam ripper is not a symbol of failure. It is a tool that gives you flexibility.
Instead of being afraid of mistakes, you can sew with greater confidence because you know you can correct many problems.
Tips for Beginners
If you are new to sewing, practice using your seam ripper on scrap fabric.
Take an old piece of cotton and sew a few lines.
Then practice removing them.
Try different stitch lengths and thread types.
This gives you an opportunity to learn how the tool behaves without risking an important garment.
With practice, you will quickly develop better control.
A Simple Seam-Ripping Routine
When you need to remove stitches, remember this simple routine:
Inspect → Position → Slide → Cut → Remove → Check → Rese\u200e w
First inspect the seam.
Position the fabric comfortably.
Slide the seam ripper underneath the thread.
Cut carefully.
Remove loose thread.
Check the fabric for damage.
Then prepare the seam for sewing again.
This simple process can prevent many unnecessary mistakes.
Final Thoughts
A seam ripper may be one of the smallest tools in a sewing kit, but it can make a huge difference.
Knowing how to use one properly allows you to correct mistakes, alter garments, replace seams, open buttonholes, adjust hems, and improve your finished projects.
The most important lessons are simple: work slowly, use light pressure, keep the blade away from the fabric whenever possible, and inspect your work frequently.
With practice, seam ripping becomes less intimidating and much more efficient.
Remember that sewing is a process. Mistakes are part of learning, and correcting them is part of becoming a better sewist.
So the next time you sew the wrong seam or discover that something needs to be changed, don’t panic. Reach for your seam ripper, slow down, and carefully give your project another chance.
