
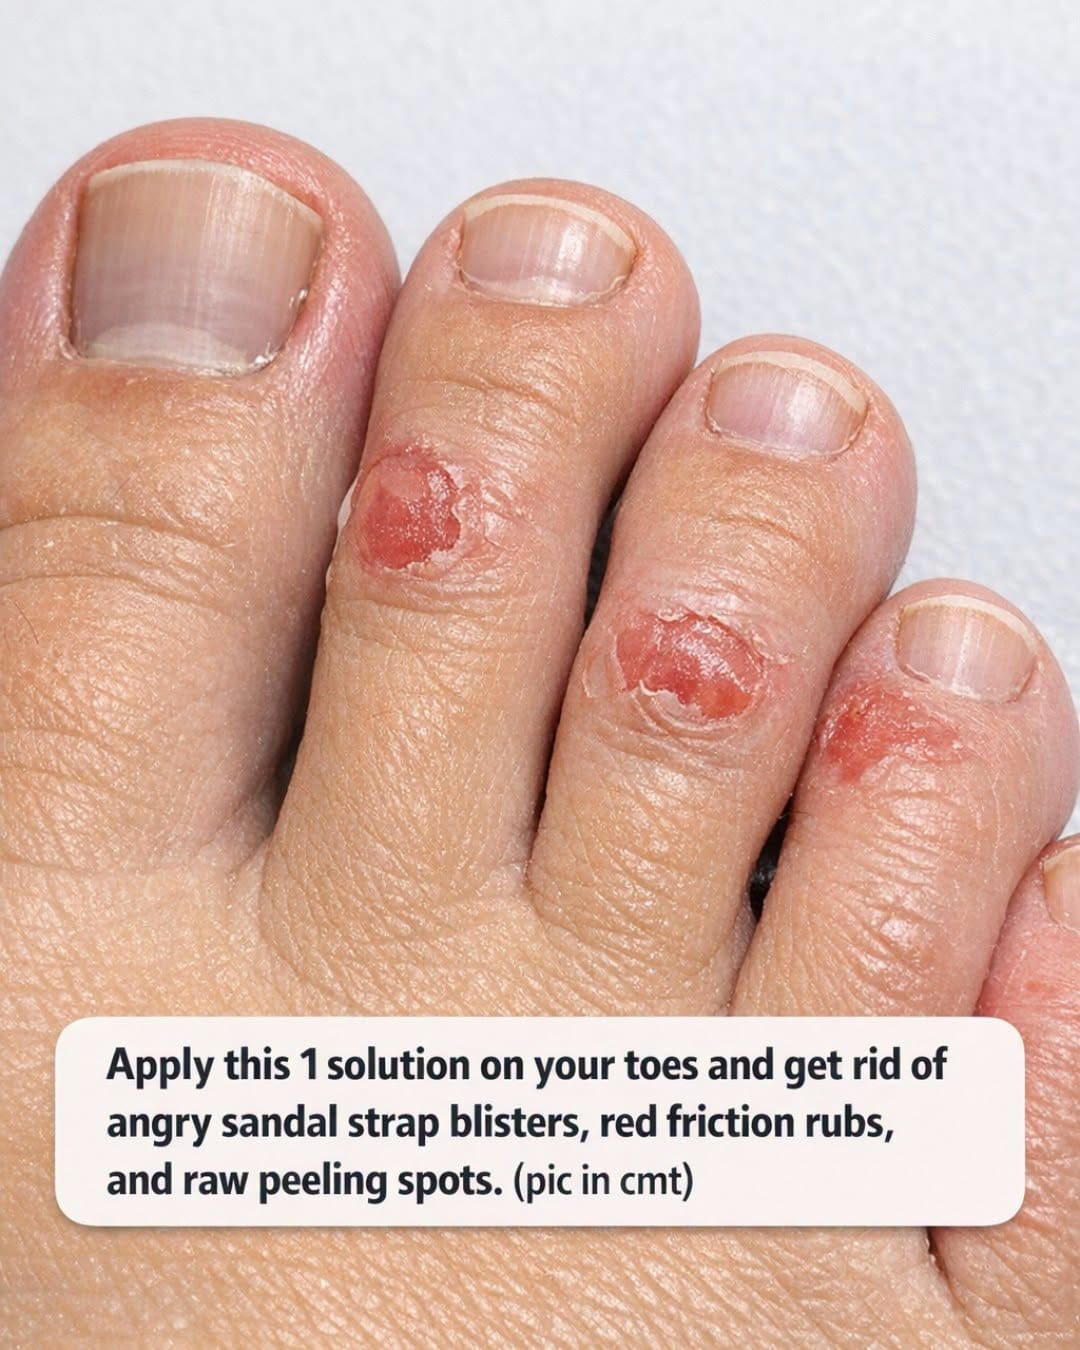
If you wear sandals long enough, you eventually meet the same miserable trio: the raised blister right where the strap hits, the bright red rub along the side of the toe, and that tender peeling patch that feels twice as bad once you get home and wash your feet. I have dealt with all three during hot-weather walks, market errands, and one especially foolish afternoon in brand-new leather slides, and the one solution I keep coming back to is plain petroleum jelly.
It is inexpensive, easy to find, safe for most people when used on intact skin, and genuinely effective because it reduces friction—the real culprit behind most sandal strap irritation. In this article, I’ll walk you through exactly how to use it on your toes, when to apply it, how much to use, what to do if the skin is already damaged, and how to keep the problem from returning the next time you pull on your sandals.
1. Why petroleum jelly works so well
Sandal blisters and friction rubs usually happen because skin meets strap, then heat, sweat, and repeated motion turn that contact into irritation. A thin layer of petroleum jelly acts as a barrier and lubricant at the same time. Instead of the strap dragging across dry skin hundreds or thousands of times over a day, it glides more easily.
That matters because friction injuries can start surprisingly fast. On a 20- to 30-minute walk, a strap can rub the exact same spot several hundred times. If your toes are a bit damp, swollen from heat, or already dry and flaky, the skin gives up even faster. Petroleum jelly lowers that rubbing force enough to prevent the angry red stage from becoming a blistered one.
2. The exact amount to apply on each toe
You do not need a thick glob. For most people, a rice-grain to pea-size amount total is enough for one foot, depending on how many pressure points the sandal creates. I usually start with about 1/8 teaspoon for both feet combined, then add a tiny bit more only where the strap actually touches.
Rub it over the tops and sides of the toes, between the toe and strap contact points, and along any place where you already know you tend to get red. The goal is a thin, even sheen, not a greasy coating that makes your foot slide around. If you can visibly see heavy smears, you have probably used too much.
3. When to apply it for the best protection
The best time is 2 to 5 minutes before you put your sandals on. That gives you just enough time to spread it evenly and let the excess settle so it is not sitting in a thick layer on the skin. If I am heading out for a long day—anything over 1 hour on my feet—I apply it before leaving and carry a small travel tin for reapplication.
For beach days, sightseeing, outdoor festivals, or shopping trips, reapply every 3 to 4 hours, especially if your feet get sandy, sweaty, or wet. If you towel your feet off or rinse them, the protective layer is partly gone, so renew it before the rubbing starts again.
4. Where to place it so it actually stops the rubbing
Focus on the contact zones, not the whole foot. Common hot spots include the top of the second and third toes, the side of the big toe, the skin between the big toe and second toe if you wear thong sandals, and the outside edge of the little toe where a narrow strap presses.
A quick way to identify your trouble spots is to put the sandal on for 30 seconds, take it off, and look for indent marks. Those marks show you exactly where the pressure and rubbing are happening. Apply the jelly 1 to 2 centimeters beyond those lines so the strap cannot “catch” the bare edge of the skin.
