
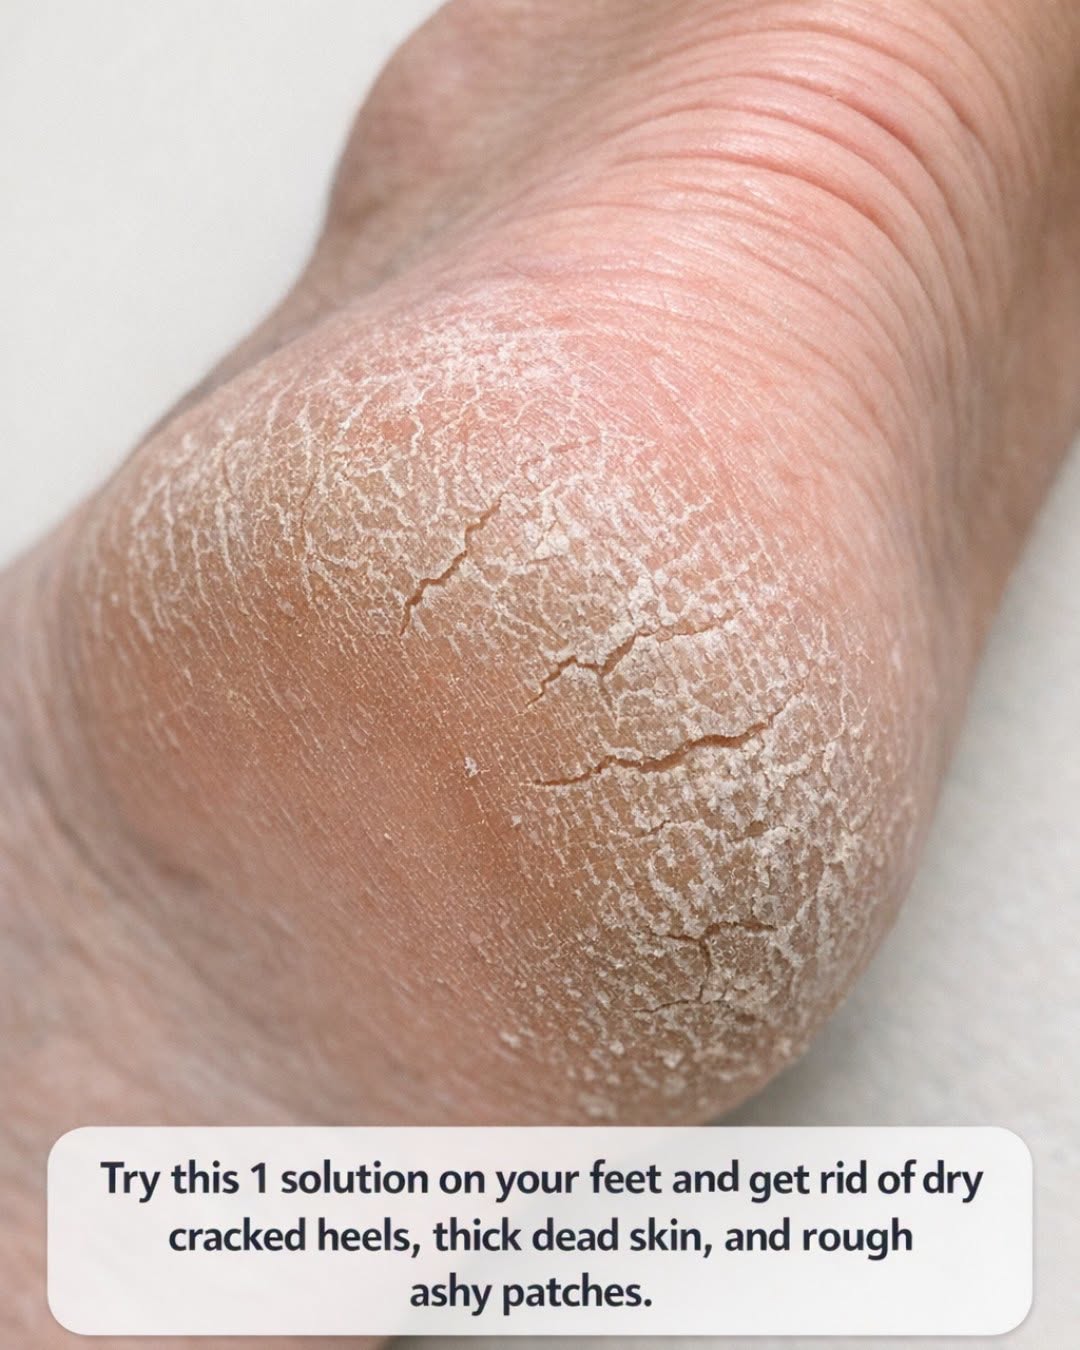
If your heels are catching on the sheets at night, leaving little white flakes in your socks, or feeling so rough that you avoid sandals altogether, you are not alone. I live in a small Midwestern town where winter air, hard floors, and months of closed-up shoes can do a number on feet, and I have absolutely had seasons where my heels looked and felt much older than the rest of me. The good news is that one simple kind of solution can make a real difference: a warm foot soak followed by gentle exfoliation and sealing moisture in properly.
In this article, I’m going to walk you through exactly how I use this at home, what ingredients and tools work best, how long to soak, how to handle thick dead skin safely, and when cracked heels need more than a home remedy. I’ll also share a few family-friendly variations, including gentler options for sensitive skin and practical ways to keep rough, ashy patches from coming right back.
1. The one solution I recommend most
If I had to pick one at-home approach that gives the best results for dry cracked heels, thick dead skin, and rough ashy patches, it would be this: a 10- to 15-minute warm foot soak in water with Epsom salt, followed by light exfoliation, then a thick moisturizer sealed in with socks. It is not flashy, but it works because it softens hardened skin first instead of asking you to scrape away dryness when your feet are still tough and brittle.
My basic ratio is 2 to 3 quarts of warm water in a wash tub or foot basin, plus 1/2 cup Epsom salt. The water should feel comfortably warm, not hot enough to sting. If you have a thermometer handy, aim for about 92 to 100 degrees Fahrenheit. After soaking, pat the feet until damp-dry, use a pumice stone or foot file for 30 to 60 seconds per heel, and apply a thick cream or ointment right away.
2. Why cracked heels and rough patches happen in the first place
Most rough heels are a combination of dryness and pressure. The heel naturally has thicker skin because it bears body weight all day. When that skin loses moisture, it gets less flexible. Then every step adds stress, and the dry skin starts to split, flake, and build up into thickened layers.
In my house, the biggest culprits are winter heating, going barefoot on wood or tile floors, standing a lot in the kitchen, and shoes with open backs. Age matters too. As we get older, skin tends to hold less moisture. If you add calluses, friction, and not enough regular foot care, you end up with those chalky white patches and cracks around the edges of the heels.
3. What you need before you start
You do not need a fancy spa setup. I usually gather a medium basin or dishpan, a clean towel, 1/2 cup Epsom salt, a pumice stone or gentle foot file, a thick foot cream, and a pair of clean cotton socks. If I know my heels are especially dry, I keep petroleum jelly or a urea-based cream nearby for the final step.
For moisturizer, look for ingredients like urea at 10% to 25%, lactic acid around 5% to 12%, glycerin, ceramides, shea butter, or petrolatum. Those ingredients help soften thick skin and pull moisture in. A lighter body lotion often is not enough for deep heel cracks. I learned that the hard way after going through bottle after bottle of lotion that smelled nice but did very little.
4. How to make the soak correctly
Fill your basin with enough warm water to cover the soles and heels fully. For most basins, that is about 2 to 3 quarts. Stir in 1/2 cup Epsom salt until it dissolves. If your feet are only mildly dry, soak for 10 minutes. If the skin is thick and rough, go up to 15 minutes, but not much longer, because overly long soaking can sometimes leave skin more dehydrated afterward.
I like to do this in the evening after dinner cleanup, when I can sit down for a few quiet minutes. If you want to make it feel nicer, put on music or read while you soak. Just skip harsh extras like lemon juice, strong vinegar, or undiluted essential oils if your skin is cracked. Those can sting and make tiny breaks in the skin angrier, not better.
5. The safest way to remove thick dead skin
